In order to join our latest Minecraft server, you will need to go ahead and install a few things, and use a custom minecraft launcher.
Installation Steps
Download CurseForge and Install it to your local system. It may require you to install Overwolf as it’s an Overwolf based application.
Once the launcher is opened, Navigate to Minecraft -> Modpacks, and enter “create above and beyond” into the search box and hit Enter.
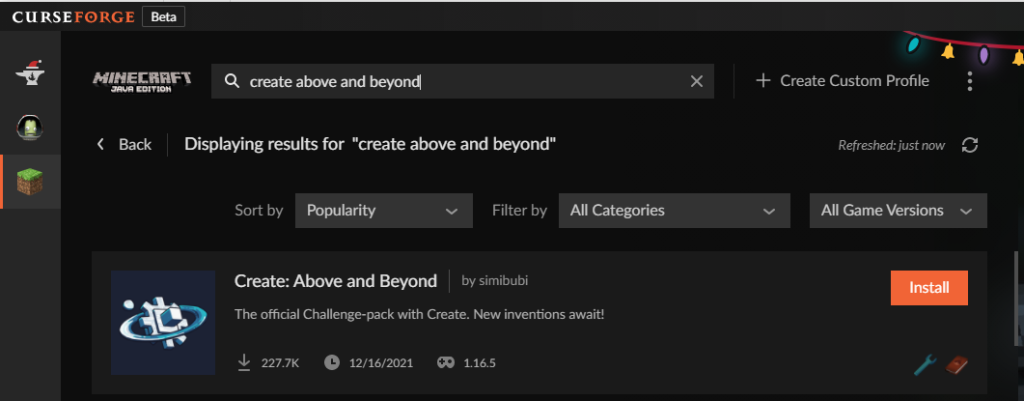
Select Install, and it will download and install the modpack

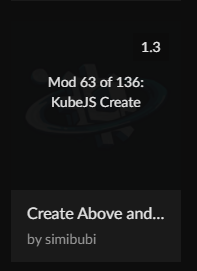
Navigate back to “My Modpacks”, and you should now see it in the list with all the mods downloading.
Configure your Java settings
Some of the Modpacks can be quite Heavy.
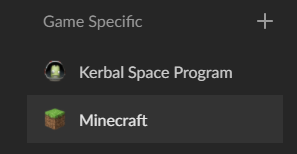
Head on into your CurseForge settings, locate Minecraft under Game Specific
And make sure the slider for “Allocated Memory” under Java Settings reads at least 6GB.

Play the game and join our server
Once downloaded, you should now see it properly showing in the list.
Mouse-over, and click ‘Play’!
In the Minecraft Launcher, it will prompt you to login using your Minecraft account. Continue through and it will open a new window, and start loading.
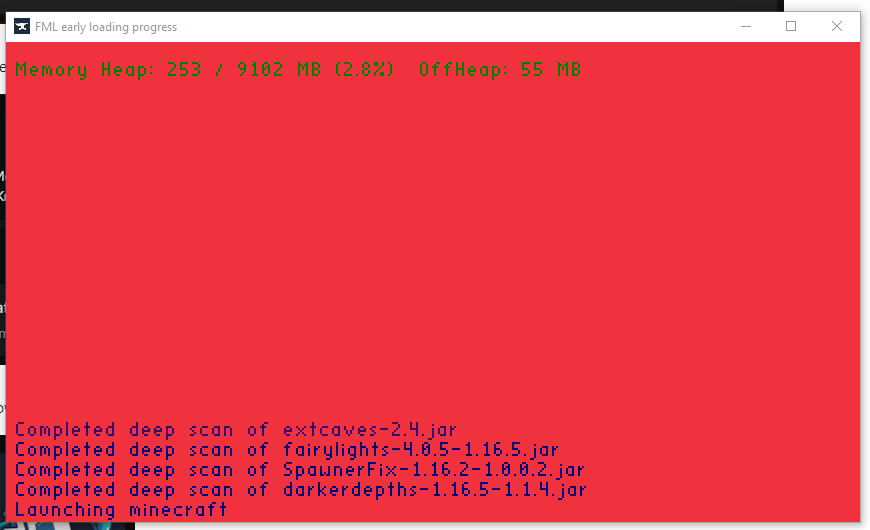
Due to the size of modpacks, it can take a few minutes to start the game.
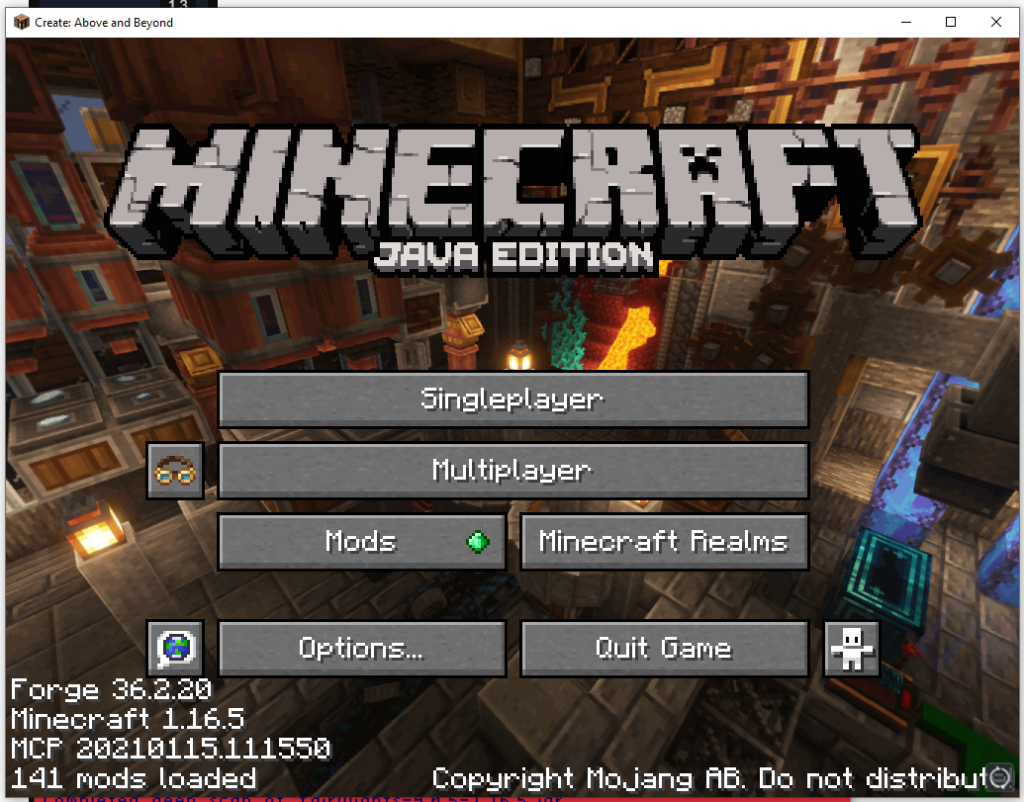
Once the game is loaded, go into Multiplayer, and Agree to the notice about online play.
Click “Add Server”

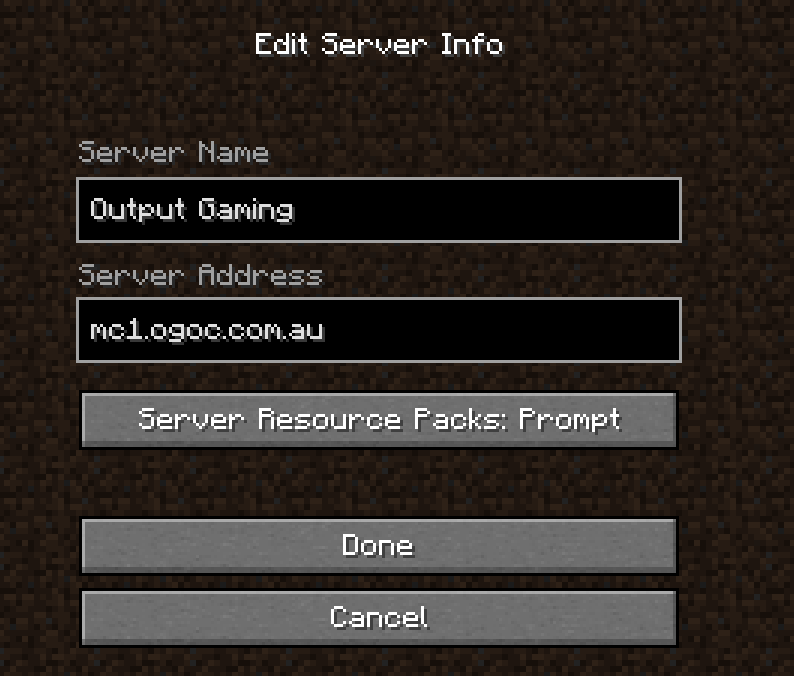
Enter the below configuration to add our server to your server list, and click “Done”.
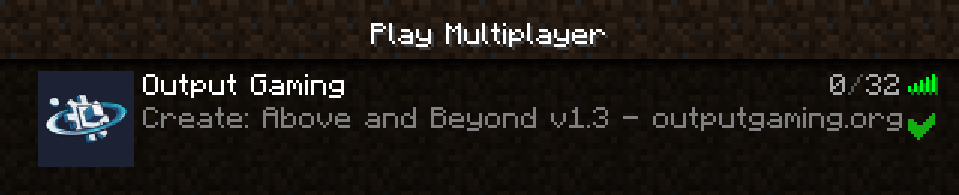
You can now select our server, and join it!
The server will restart every 4 hours to make sure that it’s operating to peak efficiency. It can take upwards of 10 minutes for the reboots to happen!
You must be logged in to post a comment.